Click on any picture for a larger version
8" F6 Mirror Grinding
For grinding tools I have read that it is recommended to use dental plaster or pure cement as a substrate. Then tiles are attached to this substrate either by glue or to embed them directly in the plaster or cement when the cast is made. Other tools used for hogging out also can be a metal ring or pipe flange. For my grinding tool I used Portland cement. This was readily available an cheap.
For the 8" mirror I made a sub-diameter tool. The tool size ended up being 6.25" in diameter. This came out to be 78% the size of the glass I was going to grind.
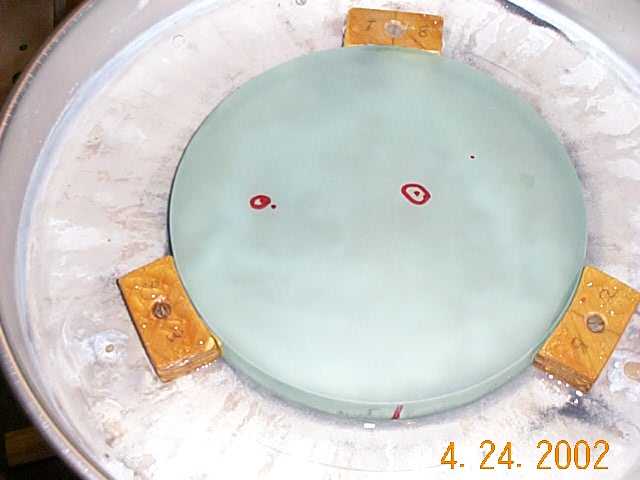
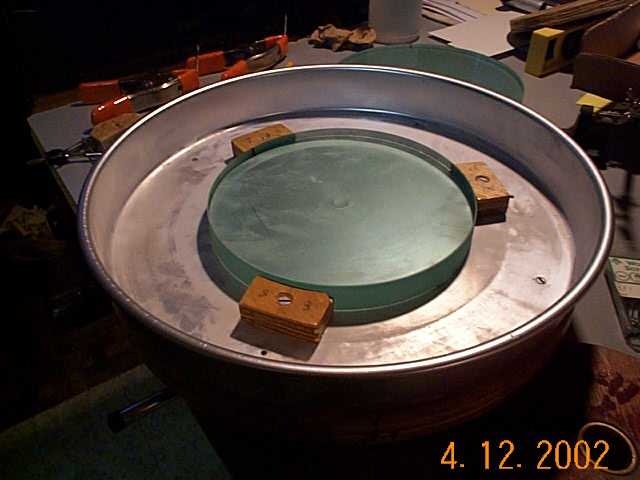 Here
is the 8" piece of virgin glass on machine ready to be ground. The
mirror is held in place be 3 curved pieces of wood. I then use plastic
shims to adjust the fit. This setup does not pinch the mirror an holds
it firmly in place.
Here
is the 8" piece of virgin glass on machine ready to be ground. The
mirror is held in place be 3 curved pieces of wood. I then use plastic
shims to adjust the fit. This setup does not pinch the mirror an holds
it firmly in place.
 |
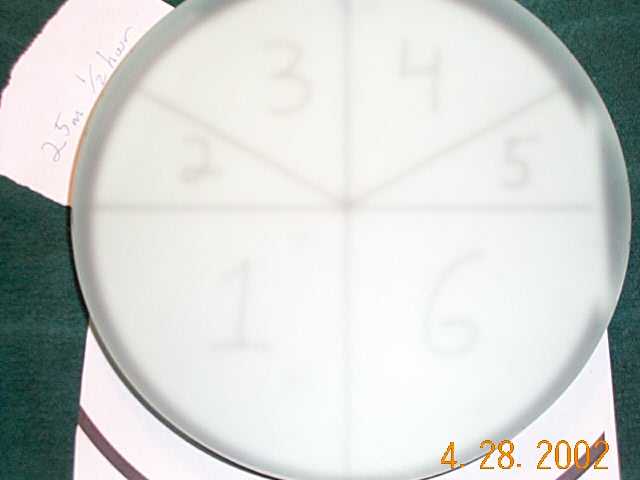
After being attacked with 80 grit for about 1/2
- 1 hour here is what the surface started to look like.
|
 |
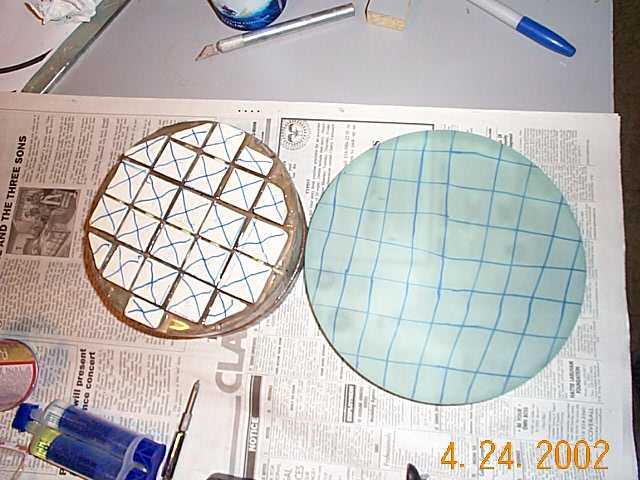
By the end of the rough grinding my tile tool started to wear out an I
had to apply a new set of tile. Here is the before an after.
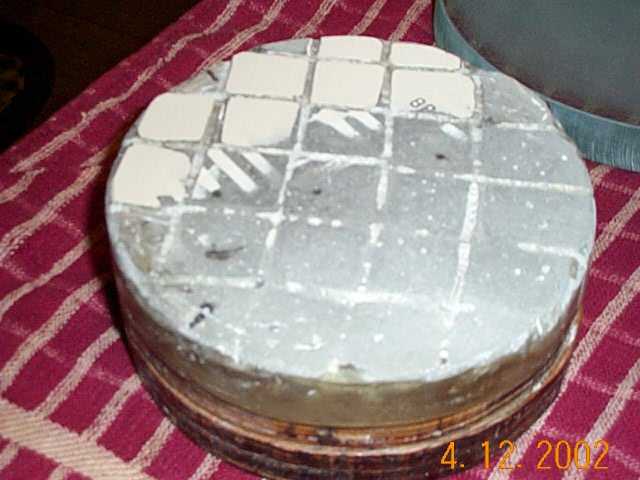 |
On the left size you can see where the tiles wore
completely out.
On the right new tiles are glued. The rough edges were trimmed an beveled with a dremel I was not able to find 1" tile so I had to cut them from a larger piece of tile. |
 |
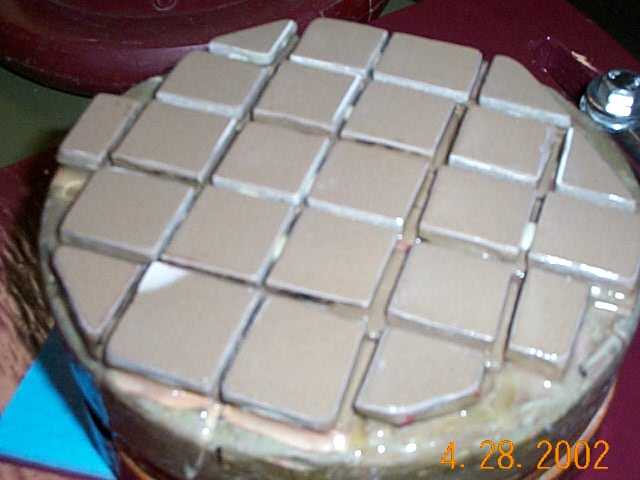
Here is the new tile tool after being broke in. I broke it in by doing
a several 80 grit wets until I seen all the tiles wearing evenly.
 |
On the left the tiles an mirror are marked an ready for the sharpie (felt tip permanent marker) test. On the right is after several wets. Time to move on. |
 |
After the depth needed for a F6 was reached it was then time to move
on into the finer grits. The grits stages that I used in order were 80,
120, 220, 320, @400 (25 micron), and @800 (12 micron) As the fine grinding
process went along I would pit an scratch check before I moved on to the
next finer grit.
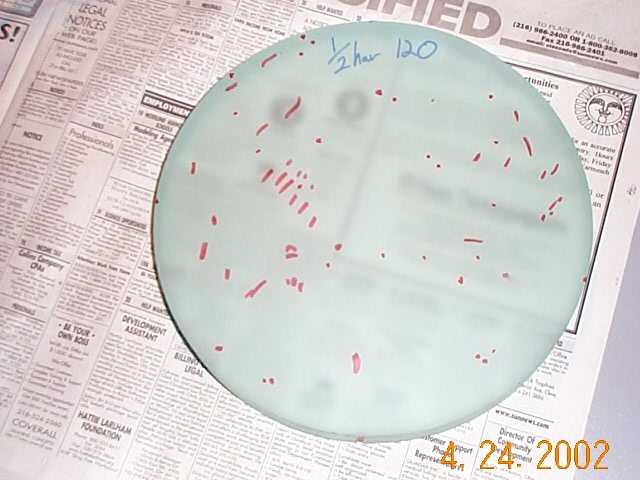
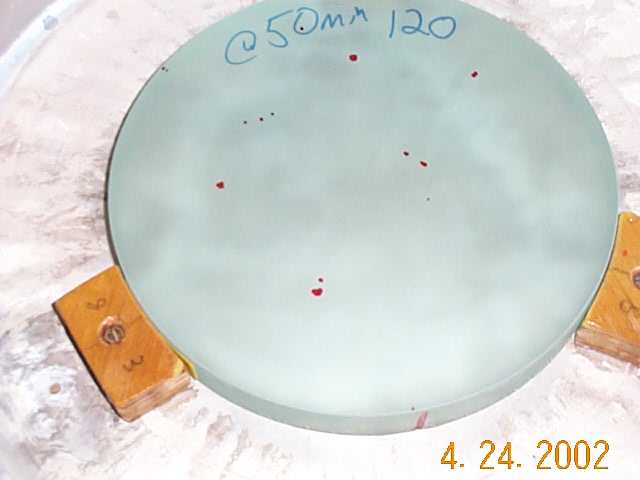
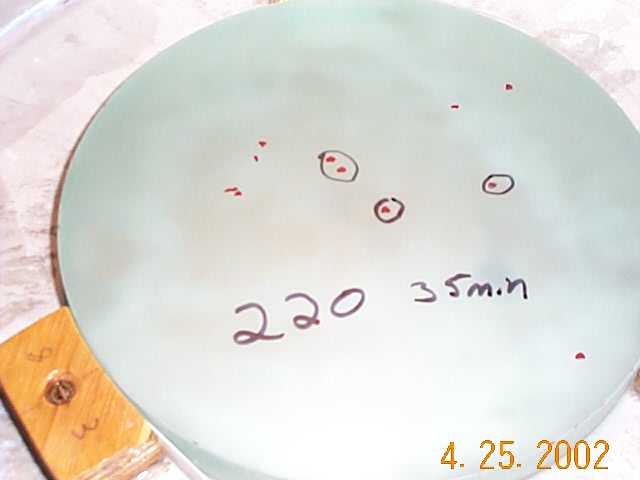
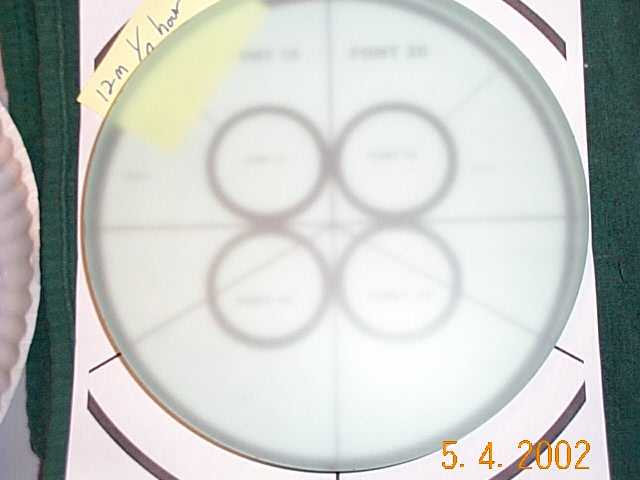
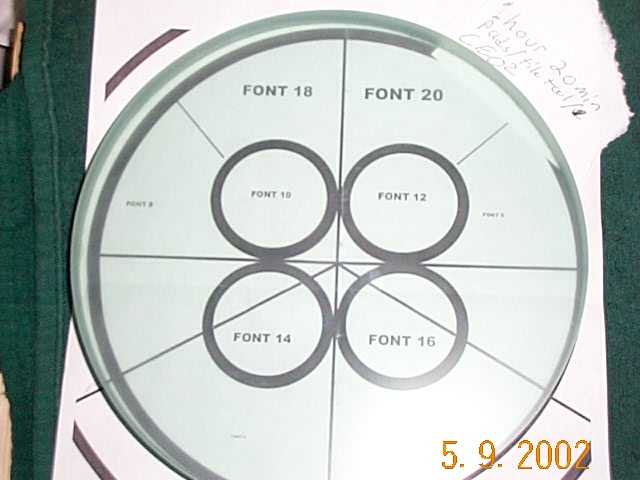
In the images below you can see where I used a sharpie to mark any pits
or scratches.
 |
 |
 |
|
120 grit after 1/2 hour
|
120 grit 50 minutes total
|
120 grit 1 1/2 hours later
|
 |
 |
 |
|
220 grit after 35 minutes
|
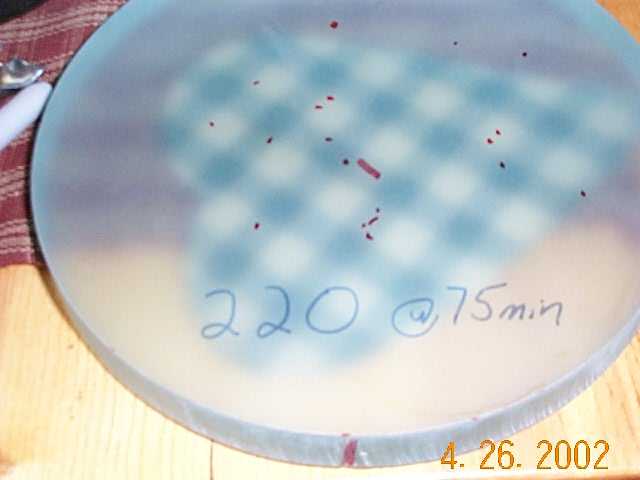
220 grit after 75 minutes total
|
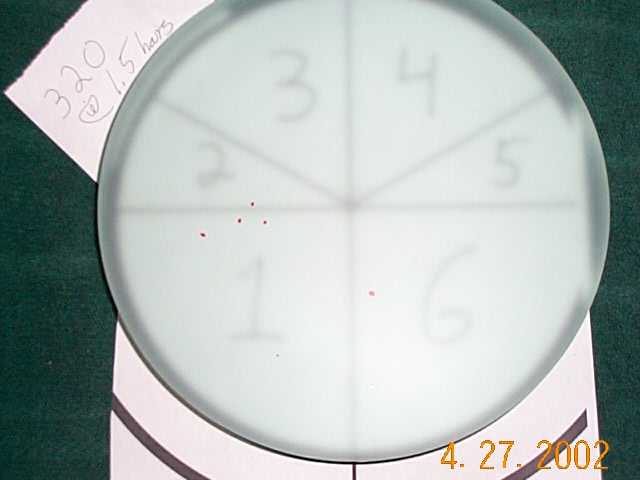
320 after 1 1/2 hours.
|
 |
 |
|
|
25 micron after 1/2 hour
|
25 micron 60 minutes total
|
|
 |
 |
 |
|
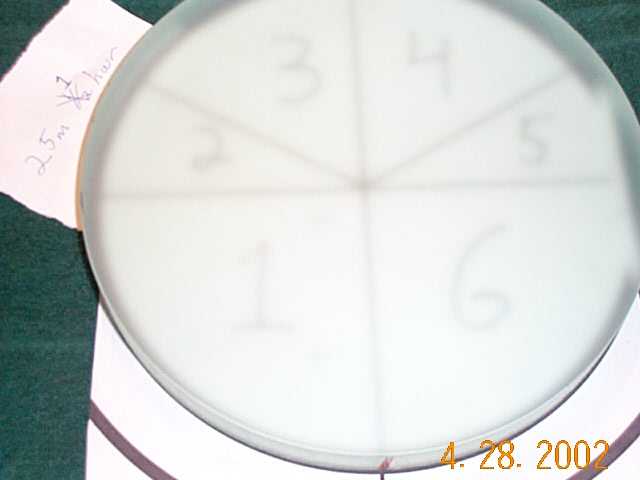
12 micron after 1/2 hour
|
12 micron after 50 minutes.
At this point I started to notice micro scratches an they would come an go. I suspected the tool. Beveling the edges did not seem to help but what did help was a wax job on the tool. |
1 hour 20 minutes using polishing pads and Cerium Oxide. |
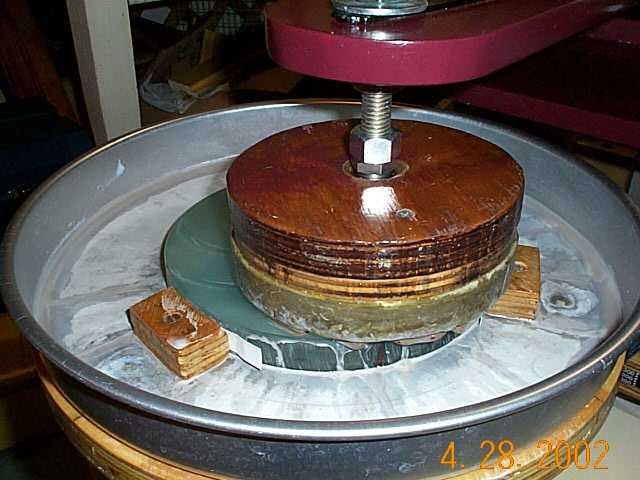 Here
is a close up of the mirror-o-matic at work. At this stage I was using
320 grit. For all of the rough an fine grinding the mirror-o-matic was
setup to spin the turntable at 50 - 60rpm an the eccentric set to spin
at about 7 - 10rpm. Most of the grinding process used a fixed overarm
position with about a 1/4" overhang.
Here
is a close up of the mirror-o-matic at work. At this stage I was using
320 grit. For all of the rough an fine grinding the mirror-o-matic was
setup to spin the turntable at 50 - 60rpm an the eccentric set to spin
at about 7 - 10rpm. Most of the grinding process used a fixed overarm
position with about a 1/4" overhang.
After several hours using the polishing pads the micro scratches came out. As the mirror started to get a nice shine I was able to start testing. I eventually made a pitch lap tool that would complete the polishing an start the figuring stage.